Walking With Hexapods
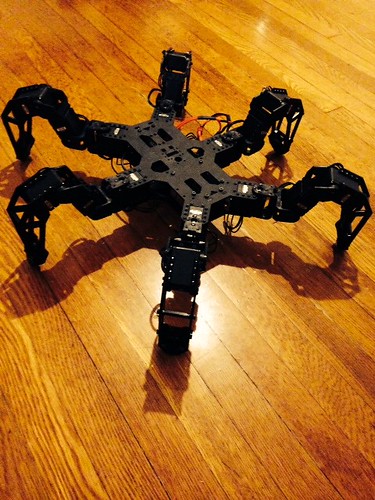
Here we see the PhantomX Hexapod thriving in the natural habitat of a cozy, climate controlled, modern house. But there was a time before the hexapod. In particular, there was a time of many hexapod parts and a high level software developer that somehow, despite her natural lack of mechanical skills, managed to bring it to life. This blog post endeavors to chronicle the high and low points of this journey. And perhaps, will make it easier for any other brave souls that would like to bring the Age of Hexapods into their homes.
Oh My! So Many Parts
I wasn’t really mentally prepared for the vast amounts of parts in the kit. Here is a sampling:
- 18 AX-12A Servos
- Top/ Bottom Body Plate
- 20 Brackets
- Arbotix Board
- 2 Xbees
- Lipo Battery & Charger
- Arbotix programmer
- 19 Cables
- 50,000 nuts and screws (Really only about 850 - but you get my point)
First Things First
The very first thing to do is to make sure that you have all the parts. Once I went through the checklist and double counted all my screws, I was relieved to go onto the next task of programming the Arbotix and assign ids to servos and center them. These steps consisted of:
- Getting the Arduino IDE going
- Loading the Drivers and Libraries
- Loading the ROS (Robot Operating System) on the Arbotix Board, so that it could be used to program the servos.
Each of the servos have to be assigned a number. This will let the program know which part of the leg is which, so that it will eventually - hopefully, be able to walk. Once the id is given, a sticker is labeled on the servo for future use. Centering the servos is a VERY important step not to overlook. If you do not center the servos, you will get into the unfortunate circumstance of having to dissemble the robot, cry, recenter the servos, and then reassemble the robot. Please avoid.
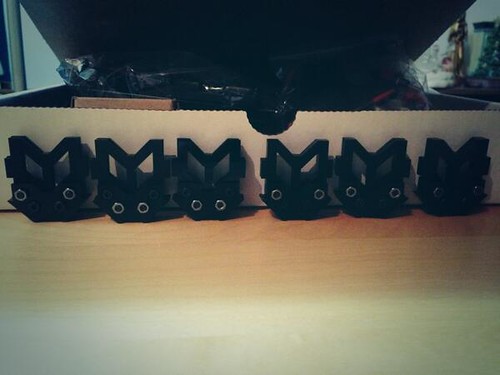
Putting It Together
The assembly starts with the feet and legs first. I was so pleased when I got the feet assembled, that I considered knitting little baby hexapod booties.
Next a servo and the tibia is added
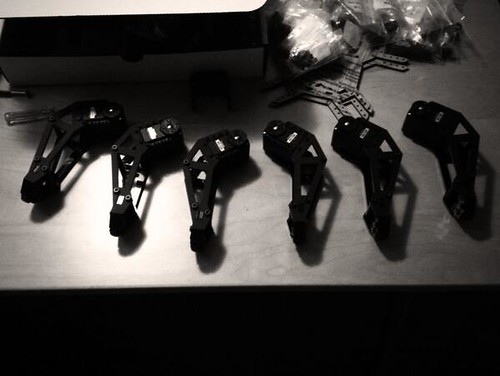
Another servo and the tibia and femur is assembled
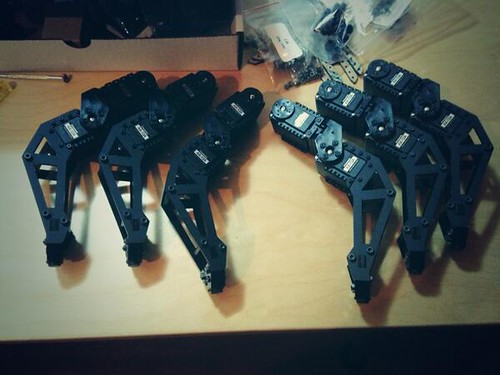
Finally, another servo and the whole leg is assembled

Newbie Advice
I would like to pause for a minute to share some advice from my trial and errors in assembly thus far:
- Don’t overtighten screws - More is not better. It makes things like plexiglass frames crack and break.
- Seating nuts in servos is hard - This isn’t really advice. Just moral support in your struggle. There are 18 servos and up to 20 nuts to seat in each servo.
Assembling the body
The body is where the board, battery and and cables go.
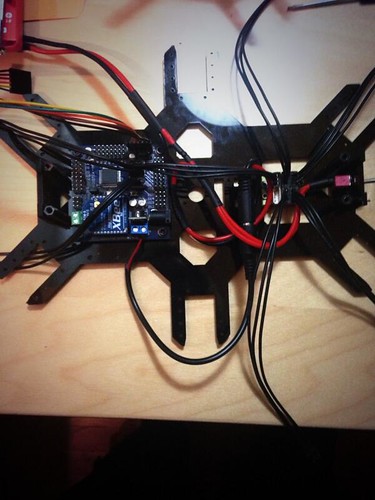
At long last, the legs can be attached to the body - with 120 screws of course.
Round two of Newbie Advice
- For those who have never stripped wires and attached them to power supplies, like me, please mind that the wires are twisted so that the edges don’t fray out and short out everything requiring you to re-assign all the servos that lost their ids and much unscrewing, crying, and reassembling.
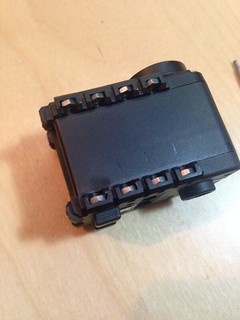
- When programming the Arbotix board. You must remove the Xbee, or it will not work.
- Also, did I mention not over-tightening screws? Also, the order in which you tighten the screws is important too. Try to tighten them all loosely in order, so you don’t stress the fiberglass parts and have something like this happen.

It is Alive!
Finally, the moment of truth. The hexapod is assembled and it is time to upload a test check on the board to make sure that everything is working alright.
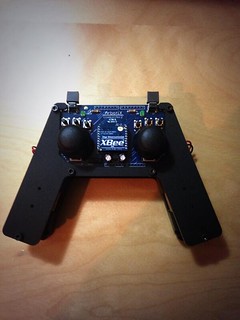
Walking with Hexapods
The kit comes with a commander that you assemble of course. You can use it to control the hexapod with hand-held joysticks.
The moment of truth, when it finally took its very first steps, and the Age of Hexapods began.
Stay tuned for the next post of how to control the hexapod with your Clojure code and loading the Phoenix firmware that gives it a life-like moves